
How to recover a hacked WordPress site step by step
Learn how to recover a hacked WordPress site: protect visitors, restore a clean backup, remove malware and review security warnings.
In this article
If you suspect your WordPress site was hacked, do not delete files or restore a random backup. First record what is happening and preserve a copy of the current site. Then choose between restoring a backup from before the attack or requesting a technical cleanup. Finally, secure the accounts, fix the cause and check that no security warnings remain.
How can you tell if your WordPress site was hacked?
These signs may point to an intrusion:
| Sign | What to check |
|---|---|
| Pages, links or ads appear that you do not recognise | Check the website and the URLs shown in Google Search Console. |
| Visitors see redirects or different content | Check whether it happens when you are not signed in. |
| Unknown administrator accounts or plugins appear | Review users and installed components. |
| Google or a browser shows a malware or phishing warning | Check the Security Issues report in Search Console. |
| Your provider suspended the website or sent a warning | Ask what was detected and what action was taken. |
A 500 error, blank screen or inability to sign in does not, by itself, prove that a site was hacked. It can also result from a failed update, a hosting issue or a configuration problem. WordPress.org’s guide to hacked sites recommends identifying and documenting the signs before choosing a response.
1. Document the problem and limit exposure
Before changing the website, record:
- The domain and affected URLs.
- The exact message and who showed it: a browser, provider, Google or another service.
- When you noticed the issue, including your time zone if known.
- Whether you see the warning as an administrator, a visitor or both.
- Recent changes such as updates, plugin installations, password changes or file edits.
- Any notice from your hosting provider.
If the site redirects visitors to a fraudulent page or displays malware, contact your provider promptly. Ask whether they can restrict public access while the website is reviewed and preserve the available logs. If the account is already quarantined, coordinate with the provider before downloading or restoring files.
Do not bypass a browser warning to visit a page marked as dangerous. If Google sent a warning, check the example URLs in Search Console.
2. Save a copy before cleaning or restoring
Keep a copy of the current files and database even if you suspect they contain malware. It may help identify the cause and preserve the available record of the incident. Store it outside the public website folder and limit who can access it.
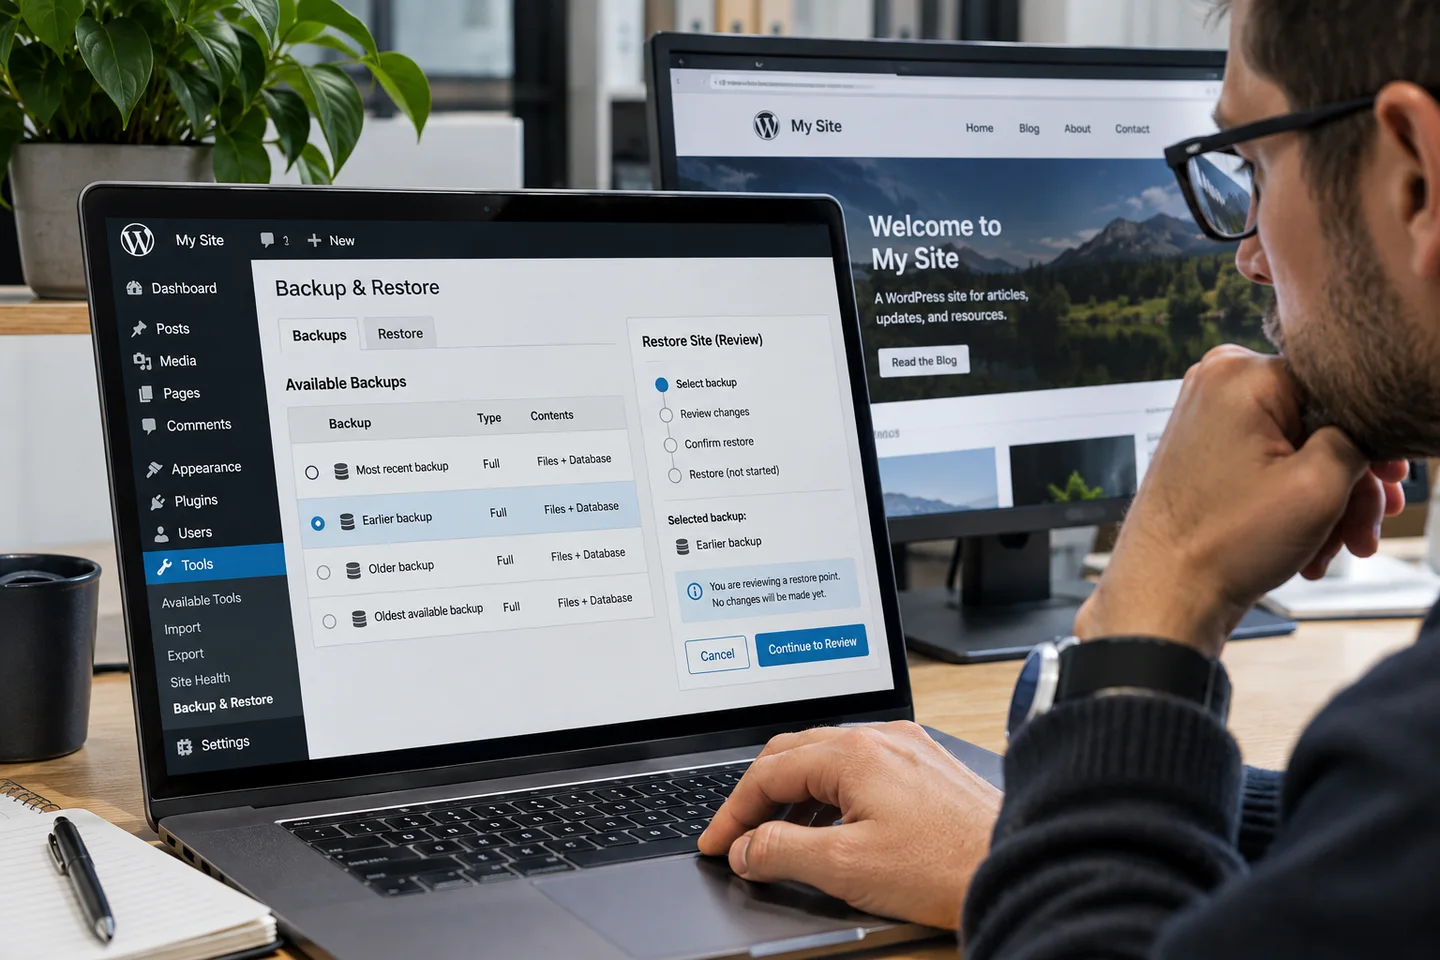
A full restore can replace both files and the database. In WordPress, the database may contain pages, users, comments and, for a shop, orders. Restoring an older copy may remove changes made after its date. If your site receives orders, bookings or registrations, ask for help before restoring.
See miHosting’s guide to backing up and restoring WordPress. Check the available backups, their dates and your service’s retention policy; do not assume a pre-intrusion backup is available.
3. Choose a recovery route
If you have a backup from before the attack
Use a backup dated before the first sign of intrusion. The latest backup is not always the safest one; it may have been made after the site was infected.
Before restoring:
- Confirm the backup includes the matching files and database.
- Save the current site state separately.
- If the website is a shop or receives bookings, preserve orders and registrations made after the backup or ask for help recovering them.
- If possible, test the restore in a separate environment before replacing the public website.
After restoring, fix the vulnerability that allowed access and update WordPress, plugins and themes before publishing again. Restoring a backup does not, by itself, remove the cause of an intrusion. If the entry point remains open, the site could be infected again.
If you do not have a reliable backup
Do not restore a backup with an unknown date or delete files just because their names look unfamiliar. A full cleanup may require checking the WordPress core, plugins and themes, users, database, redirects and server files.
It is also useful to review automatically loaded extensions, upload folders and other WordPress installations accessible from the same account. A scanner can find clues, but its findings need to be reviewed and hidden access points checked.
If you cannot review these areas safely, ask for help before deleting or replacing files. An incorrect removal can break the website or lose data that was not in the backup. You can request a technical WordPress recovery intervention; miHosting’s one-time service costs $90 and is available for sites hosted elsewhere.
4. Close accounts the attacker may have used
From an updated, trusted device, change passwords for accounts connected to the website:
- WordPress administrator accounts.
- Your hosting client area and hosting panel.
- FTP, SFTP or SSH accounts, if used.
- Email accounts used for password recovery.
- The database, if you can also update the password in WordPress configuration.
In WordPress, review Users > All Users and check for administrators you do not recognise. Before removing an account, make sure you still have a legitimate administrator account.
Use new, unique passwords and enable two-step verification where possible. If you changed passwords while the site could still capture them, change them again after cleanup. You can also ask the technician to regenerate WordPress security keys to close active sessions.
If you change the database password, WordPress configuration must also be updated. If you are not sure how, ask for help before editing it so the site does not lose its database connection.
5. Check that the website is clean
After the cleanup or restore:
- Check for unknown users, plugins, pages and redirects.
- Run a security scan and review any flagged file before deleting or repairing it.
- If a browser warning appears, do not ignore it. Use Search Console to review the report and affected URLs.
- If Google detected the issue, wait until affected pages are clean and request a review from the Security Issues report.
Google notes that example URLs may only be a sample, so review the whole site. Request a review only after fixing the issue. If another browser or antivirus issued the warning, follow that service’s review process. You can also read miHosting’s guide to Chrome’s “Dangerous site” warning.
6. Reduce the risk of another intrusion
After recovering the site:
- Keep WordPress, plugins and themes updated and remove unused ones.
- Install extensions and themes from trusted sources.
- Use unique passwords and two-step verification for administrator accounts.
- Keep your own backups as well as your host’s and check that you can restore them.
- If the infection returns, ask for a review of the entry point and other WordPress sites in the same account.
When to ask for help
Ask for help if you cannot confirm a backup is clean, have lost access to the dashboard, the infection returns after a restore or you are unsure how to review the database and files.
Prepare the domain, affected URL, exact message, time and time zone, notices received and actions already taken. Do not send passwords, private keys or login details.
If you want a technician to handle the recovery, request miHosting’s guaranteed WordPress restoration service for $169 USD. If we cannot restore your site, you get your money back. The service is also available for sites hosted elsewhere. For help with the hosting account itself, contact the support team.